What if every lawn was transformed into a farm instead of expensive upkeep of grass? What affordable transformations can you do to your yard and gardening that will look professional but won’t break the bank? Take a look at some garden and yard project to see before and after photos that will give you ideas for your own yard.
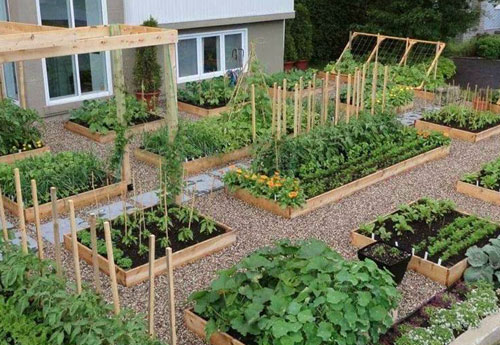
How to turn your entire yard into a garden
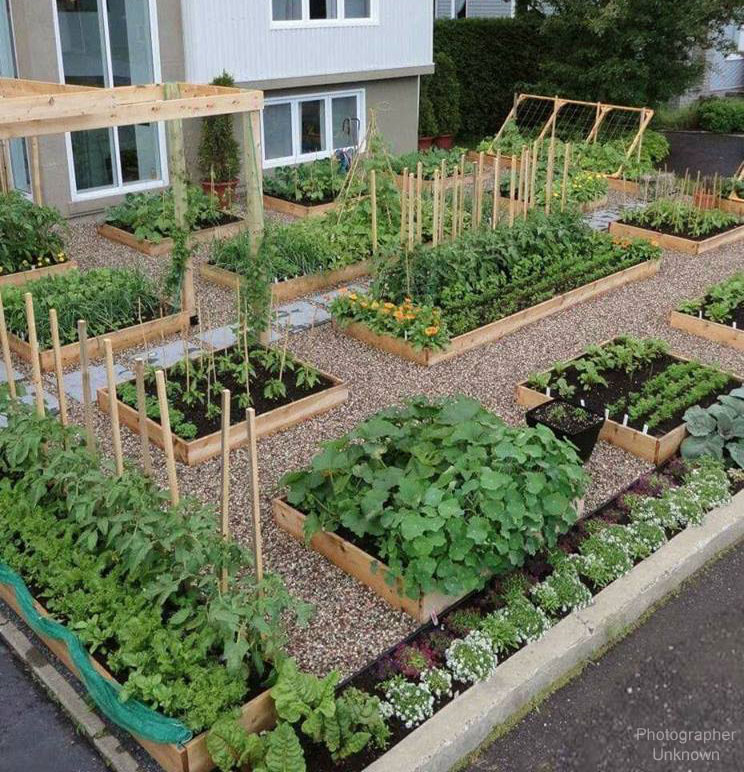
You could turn your just part of your yard, backyard, side yard or your entire yard into a working garden that produces much more than just grass. This amazing layout let’s your mind come up with all kinds of ways to make a sustainable garden that can serve you better than grass ever could. Rasied beds works well to make it easier to work on the garden – cultivate, plant, weed, and harvest.
Add a stone pathway between the raised garden beds to make a nice walkway. Pee gravel is beautiful for a stone walkway but crushed rock works as well and is cheaper.
Is your yard dull and ugly? The project below can let you transform the space quickly and affordably.
Many people don’t understand the process of gluing hardwood on their yards and gardens. There are special types of glues that woodworkers use to ensure their projects will stay together for years.
See more DIY Garden Projects
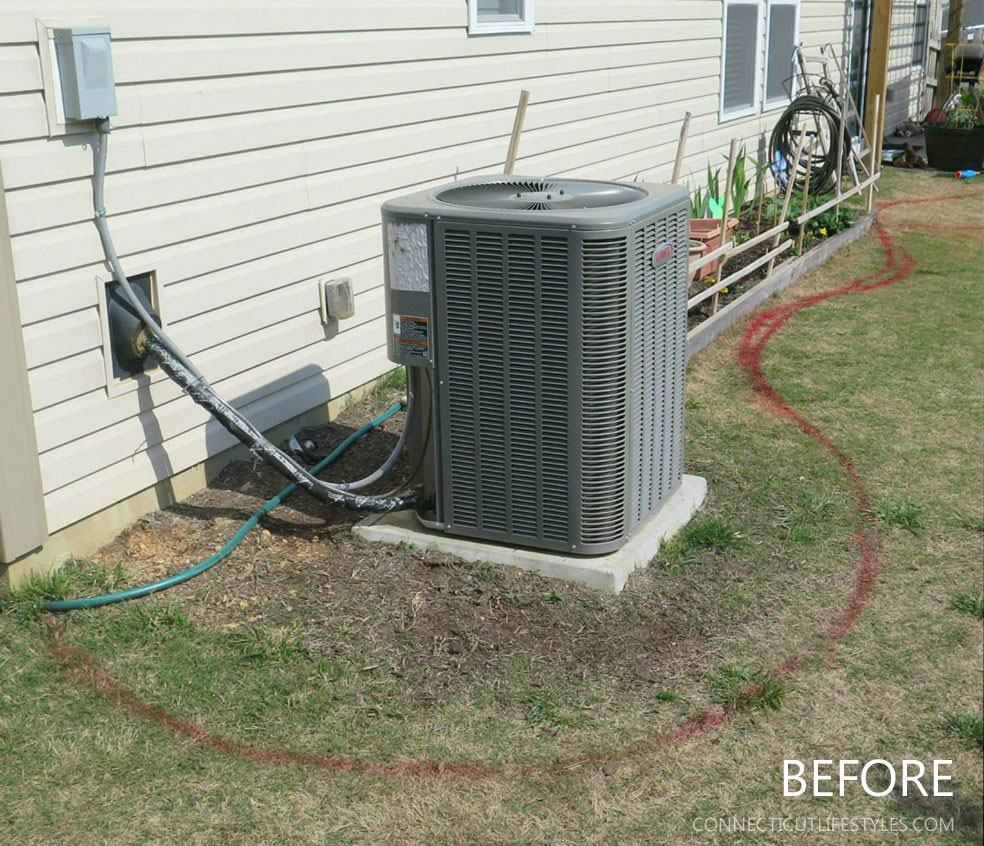
Adding edging and mulch is an easy way to beautify your yard. It’s affordable with a shovel can achieve this look. The first thing you need to do is map out how you want to place the edging. If you have a can of spray paint, just that to paint a line where you plan on cutting into the ground.
Click Here for 12,000 Shed and woodworking Project Plans
If you have a lot of grass you will probably want to pull that up first. An edge cutter comes in handy for this task. You can purchase a hand-held edge tool for around that will do the job. The edge tool is also useful in lifting up the sod if you are starting with a brand new area. If you always have dirt or mulch in this area, you can skip that step and continue with your edging.
For the edging in this photo we painted a line to indicate where to cut and remove the grass. We used a shovel to remove most of the grass as well as the edging tool. We laid a weed barrier fabric on top of the area. What this does it to keep weed down to a minimum but it is breathable enough to allow plants to grow and flourish.
Then we cut out a deeper section at the edge of the grass to place the edging stones. You want to make sure to go down deep enough for the edging to sit just below the surface so it won’t pop out over time. Then add the edging bricks or stones. The last step was to add mulch.
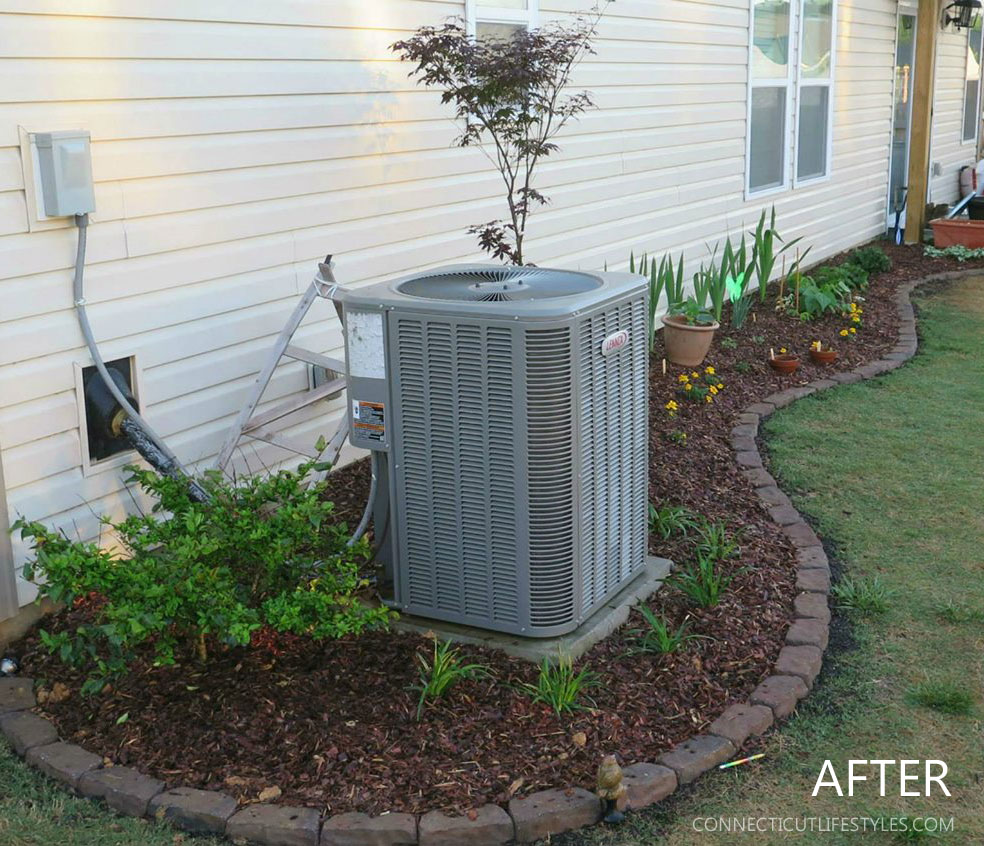
We also planted bulbs like Iris, Crocus, Daffodils, an azalea plant, and a small Japanese maple tree. Overtime this area will grown and mature. It’s so easy to spruce up your yard with simple things like garden edging and mulch. It’s an affordable project that does not require a lot of supplies or tools.